logoBPB
Example w/ Double Axe
2/2
Fanny Pack
Fanny Pack
Fanny Pack
Duffle Bag
Corrupted Armor
Shield of Valor
Flawed Amethyst
Moon Shield
Stone Helm
Burning Coal
Spiked Shield
Chipped Ruby
Spiked Shield
Shielded
Regular Ruby
Chipped Sapphire
Chipped Sapphire
Chipped Emerald
Chipped Amethyst
Double Axe
Brass Knuckles
Cheese
Oil Lamp
Dragon Claws
Bloody Dagger
Banana
Blueberries
Glowing Crown
Box of Riches
Spiked Collar
Spiked Collar
Banana
Spiked Collar
205/259Gold
"Shielded" Motif
Corrupted ArmorMoon ShieldSpiked ShieldSpiked ShieldShieldedHoly ArmorShield of Valor
Example w/ Double Axe
Fanny PackFanny PackFanny PackDuffle BagCorrupted ArmorShield of ValorMoon ShieldStone HelmSpiked ShieldSpiked ShieldShieldedDouble AxeBrass KnucklesCheeseOil LampDragon ClawsBloody DaggerBananaBlueberriesGlowing CrownBox of RichesSpiked CollarSpiked CollarBananaSpiked Collar
Shielded
Shield of Valor
Moon Shield
Sun Shield
Wooden Buckler
Spiked Shield
Frozen Buckler
Holy Armor
Moon Armor
Stone Armor
0

"Shielded" Motif

Medium
Any
Any
by
KinglerMew
0

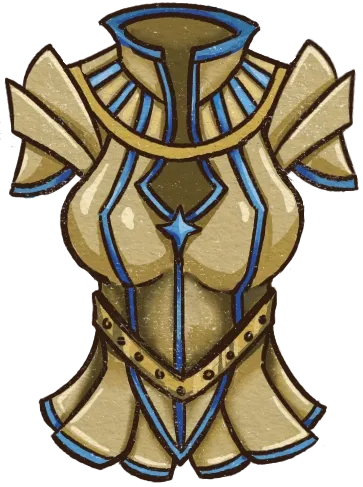
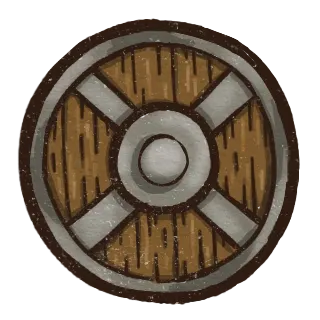
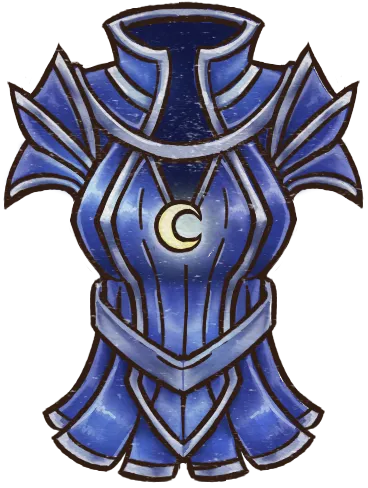
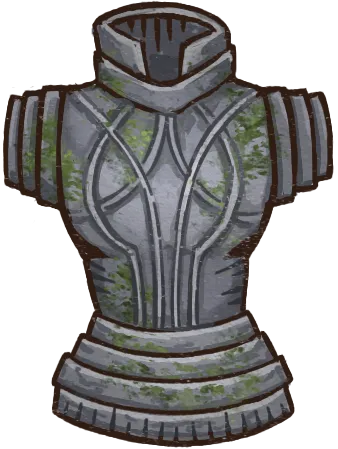
This hits 4 shields and 1 suit of armor with the badge. Your two best shields (that grant bonus block) can go between two sets of armor on the left. Other shields (big or small) go to the right. Your most impactful armor should go in the bottom left to benefit from the “Shielded” speed up.

This defense is strong midgame but levels off later. For utility or stun resist, consider replacing the top suit of armor with 2-3 helmets or boots.

The empty top right section is for weapons.

Note that with this level of defense you often win in fatigue. Reducing the opponent's healing helps win attrition battles.

Comments (0)

You must be to post a comment.